Building a Supervised Model with Falkonry Patterns
The overall process of building a model in Falkonry Patterns involves defining your use case, setting up datastreams and signal groups, training an unsupervised or semi-supervised model, labeling events (facts), and iteratively refining the model until it meets your objectives. We will walk through an example of modeling for warning and fault behavior across 6 machines where we track currents, pressures, temperatures, and torque.
Step 1: Define Datastreams and Signal Groups
Datastreams are core to organizing your model. Each datastream typically corresponds to a single equipment or entity with fewer than 15 signals.
- Create a Datastream by importing a source manifest (CSV or Parquet)
- Add metadata such as sendOnChange, sampleInterval, minThreshold, and maxThreshold.
Signal Groups are subsets of signals for modeling or reference.
- Use prefixes like _model-signals or _reference-signals for clarity.
- Keep modeling groups under 20 signals.
- Signals can be reused across multiple groups.
Example Datastream Manifest
| source_name | datastream_name | entity_name | signal_name | signal_description | sendOnChange |
|---|---|---|---|---|---|
| machine1/current1 | Machine monitoring | machine1 | current1 | output current reading | true |
| machine1/current2 | Machine monitoring | machine1 | current2 | outer current reading | true |
| machine1/current3 | Machine monitoring | machine1 | current3 | outputcurrent reading | true |
| machine1/pressure1 | Machine monitoring | machine1 | pressure1 | outer casing pressure | true |
| machine1/pressure2 | Machine monitoring | machine1 | pressure2 | outer casing pressure | true |
| machine1/pressure3 | Machine monitoring | machine1 | pressure3 | outer casing pressure | true |
| machine1/temperature1 | Machine monitoring | machine1 | temperature1 | outer casing pressure | true |
| ... | ... | ... | ... | ... | ... |
Step 2: Define Events (Facts)
Events represent labeled time periods and are used to train supervised or semi-supervised models.
- Identify 3–5 time periods each for normal, warning, and failure behavior.
- Avoid using failure events directly for early warning models.
- Create/import events via the Timeline or CSV (start, end, entity, event columns).
- Use prefixes like _normal, _warning, etc., and keep facts focused on central portions of each condition.
Best Practices:
- Include more than one label type for multi-class classification.
- Keep labels concise and non-overlapping.
- Avoid broad or transitional periods that dilute condition clarity.
Example Events Upload
| time | end | entity | value | event groups |
|---|---|---|---|---|
| 2024-08-31T19:50:00.000Z | 2024-09-13T20:15:00.000Z | machine1 | training | training |
| 2024-09-01T03:11:17.340Z | 2024-09-03T18:08:11.725Z | machine1 | _normal | supervision |
| 2024-09-04T05:08:00.000Z | 2024-09-04T21:36:00.000Z | machine1 | _warning | supervision |
| 2024-09-04T21:56:00.000Z | 2024-09-05T02:24:00.000Z | machine1 | _fault | supervision |
| 2024-09-05T02:44:00.000Z | 2024-09-06T00:00:00.000Z | machine1 | maintenance | supervision |
| 2024-09-06T05:28:10.098Z | 2024-09-09T19:43:56.098Z | machine1 | _normal | supervision |
| 2024-09-10T05:08:00.000Z | 2024-09-10T16:48:00.000Z | machine1 | _warning | supervision |
| 2024-09-10T17:08:00.000Z | 2024-09-10T21:36:00.000Z | machine1 | _fault | supervision |
| 2024-09-10T21:56:00.000Z | 2024-09-11T19:12:00.000Z | machine1 | maintenance | supervision |
| 2024-09-11T23:55:41.120Z | 2024-09-13T18:25:01.230Z | machine1 | _normal | supervision |
Step 3: Create and Train the Model
Choose from Unsupervised, Semi-supervised, or Supervised approaches. In the example, we will build a supervised model using the events we uploaded.
-
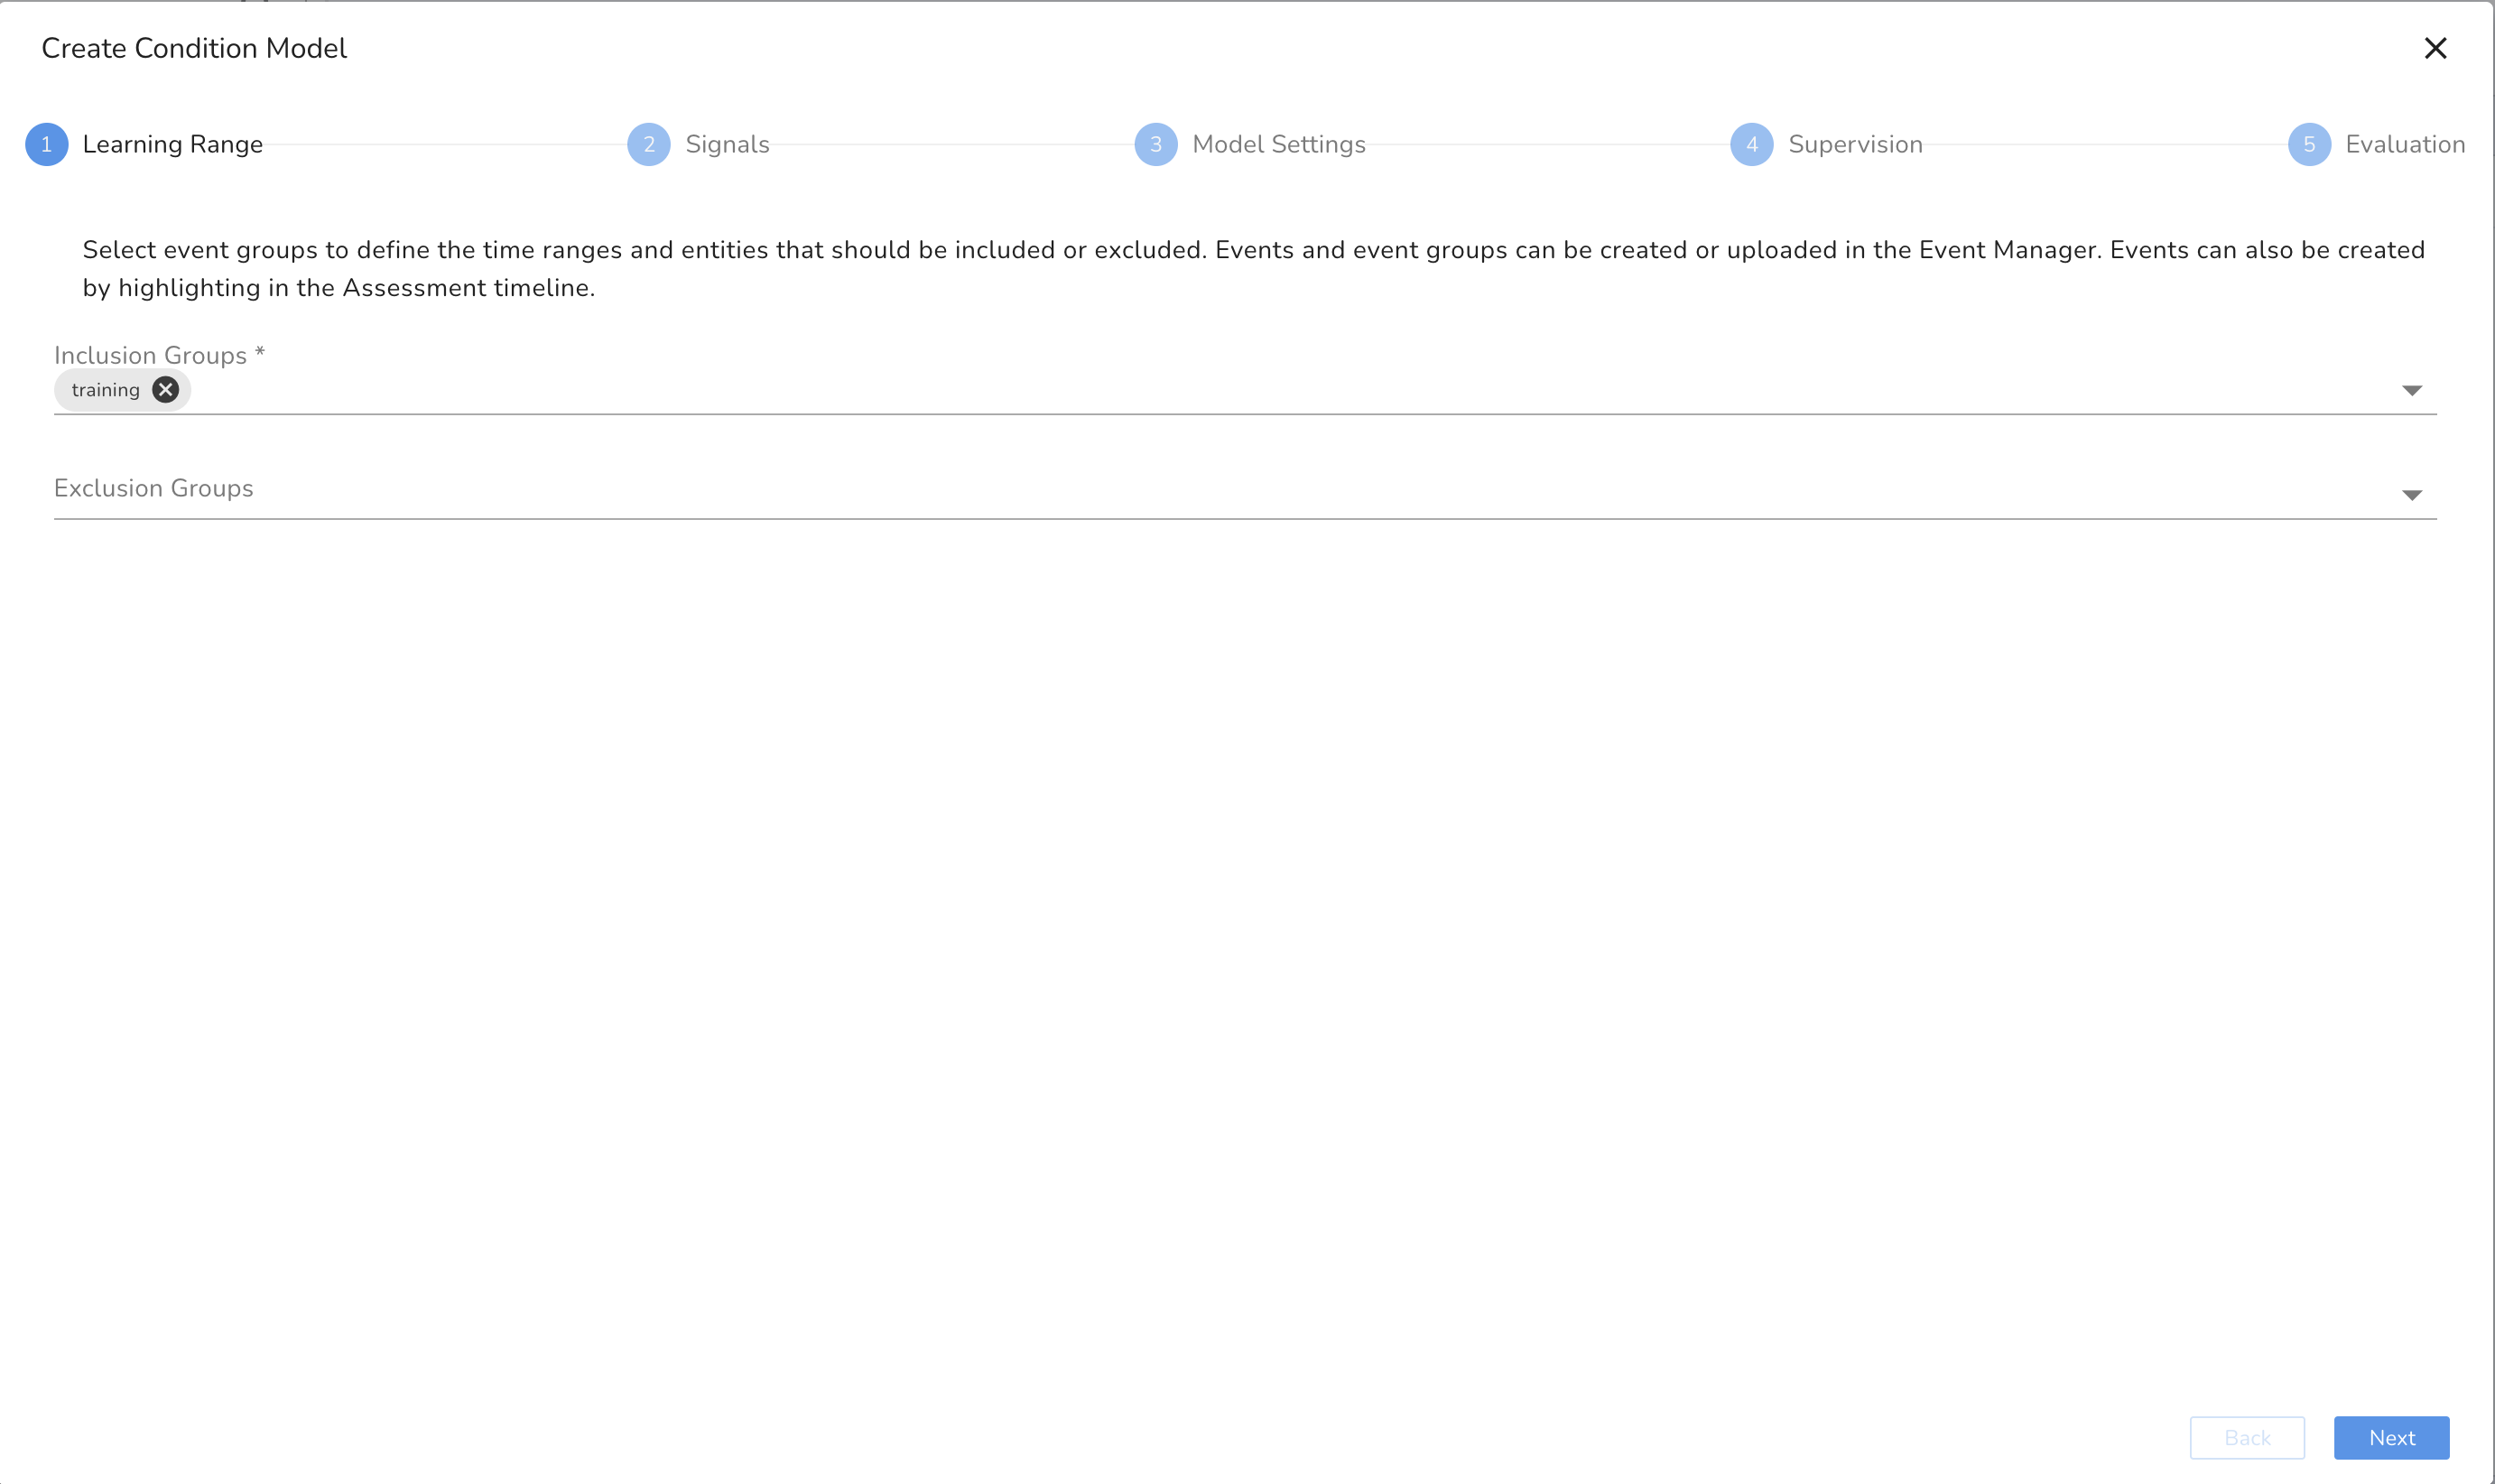
Choose Learning Ranges
-
The learning period should cover all of the variety of behaviors expected to see upon live streaming.
- From our event groups, we can select the "training" event group.
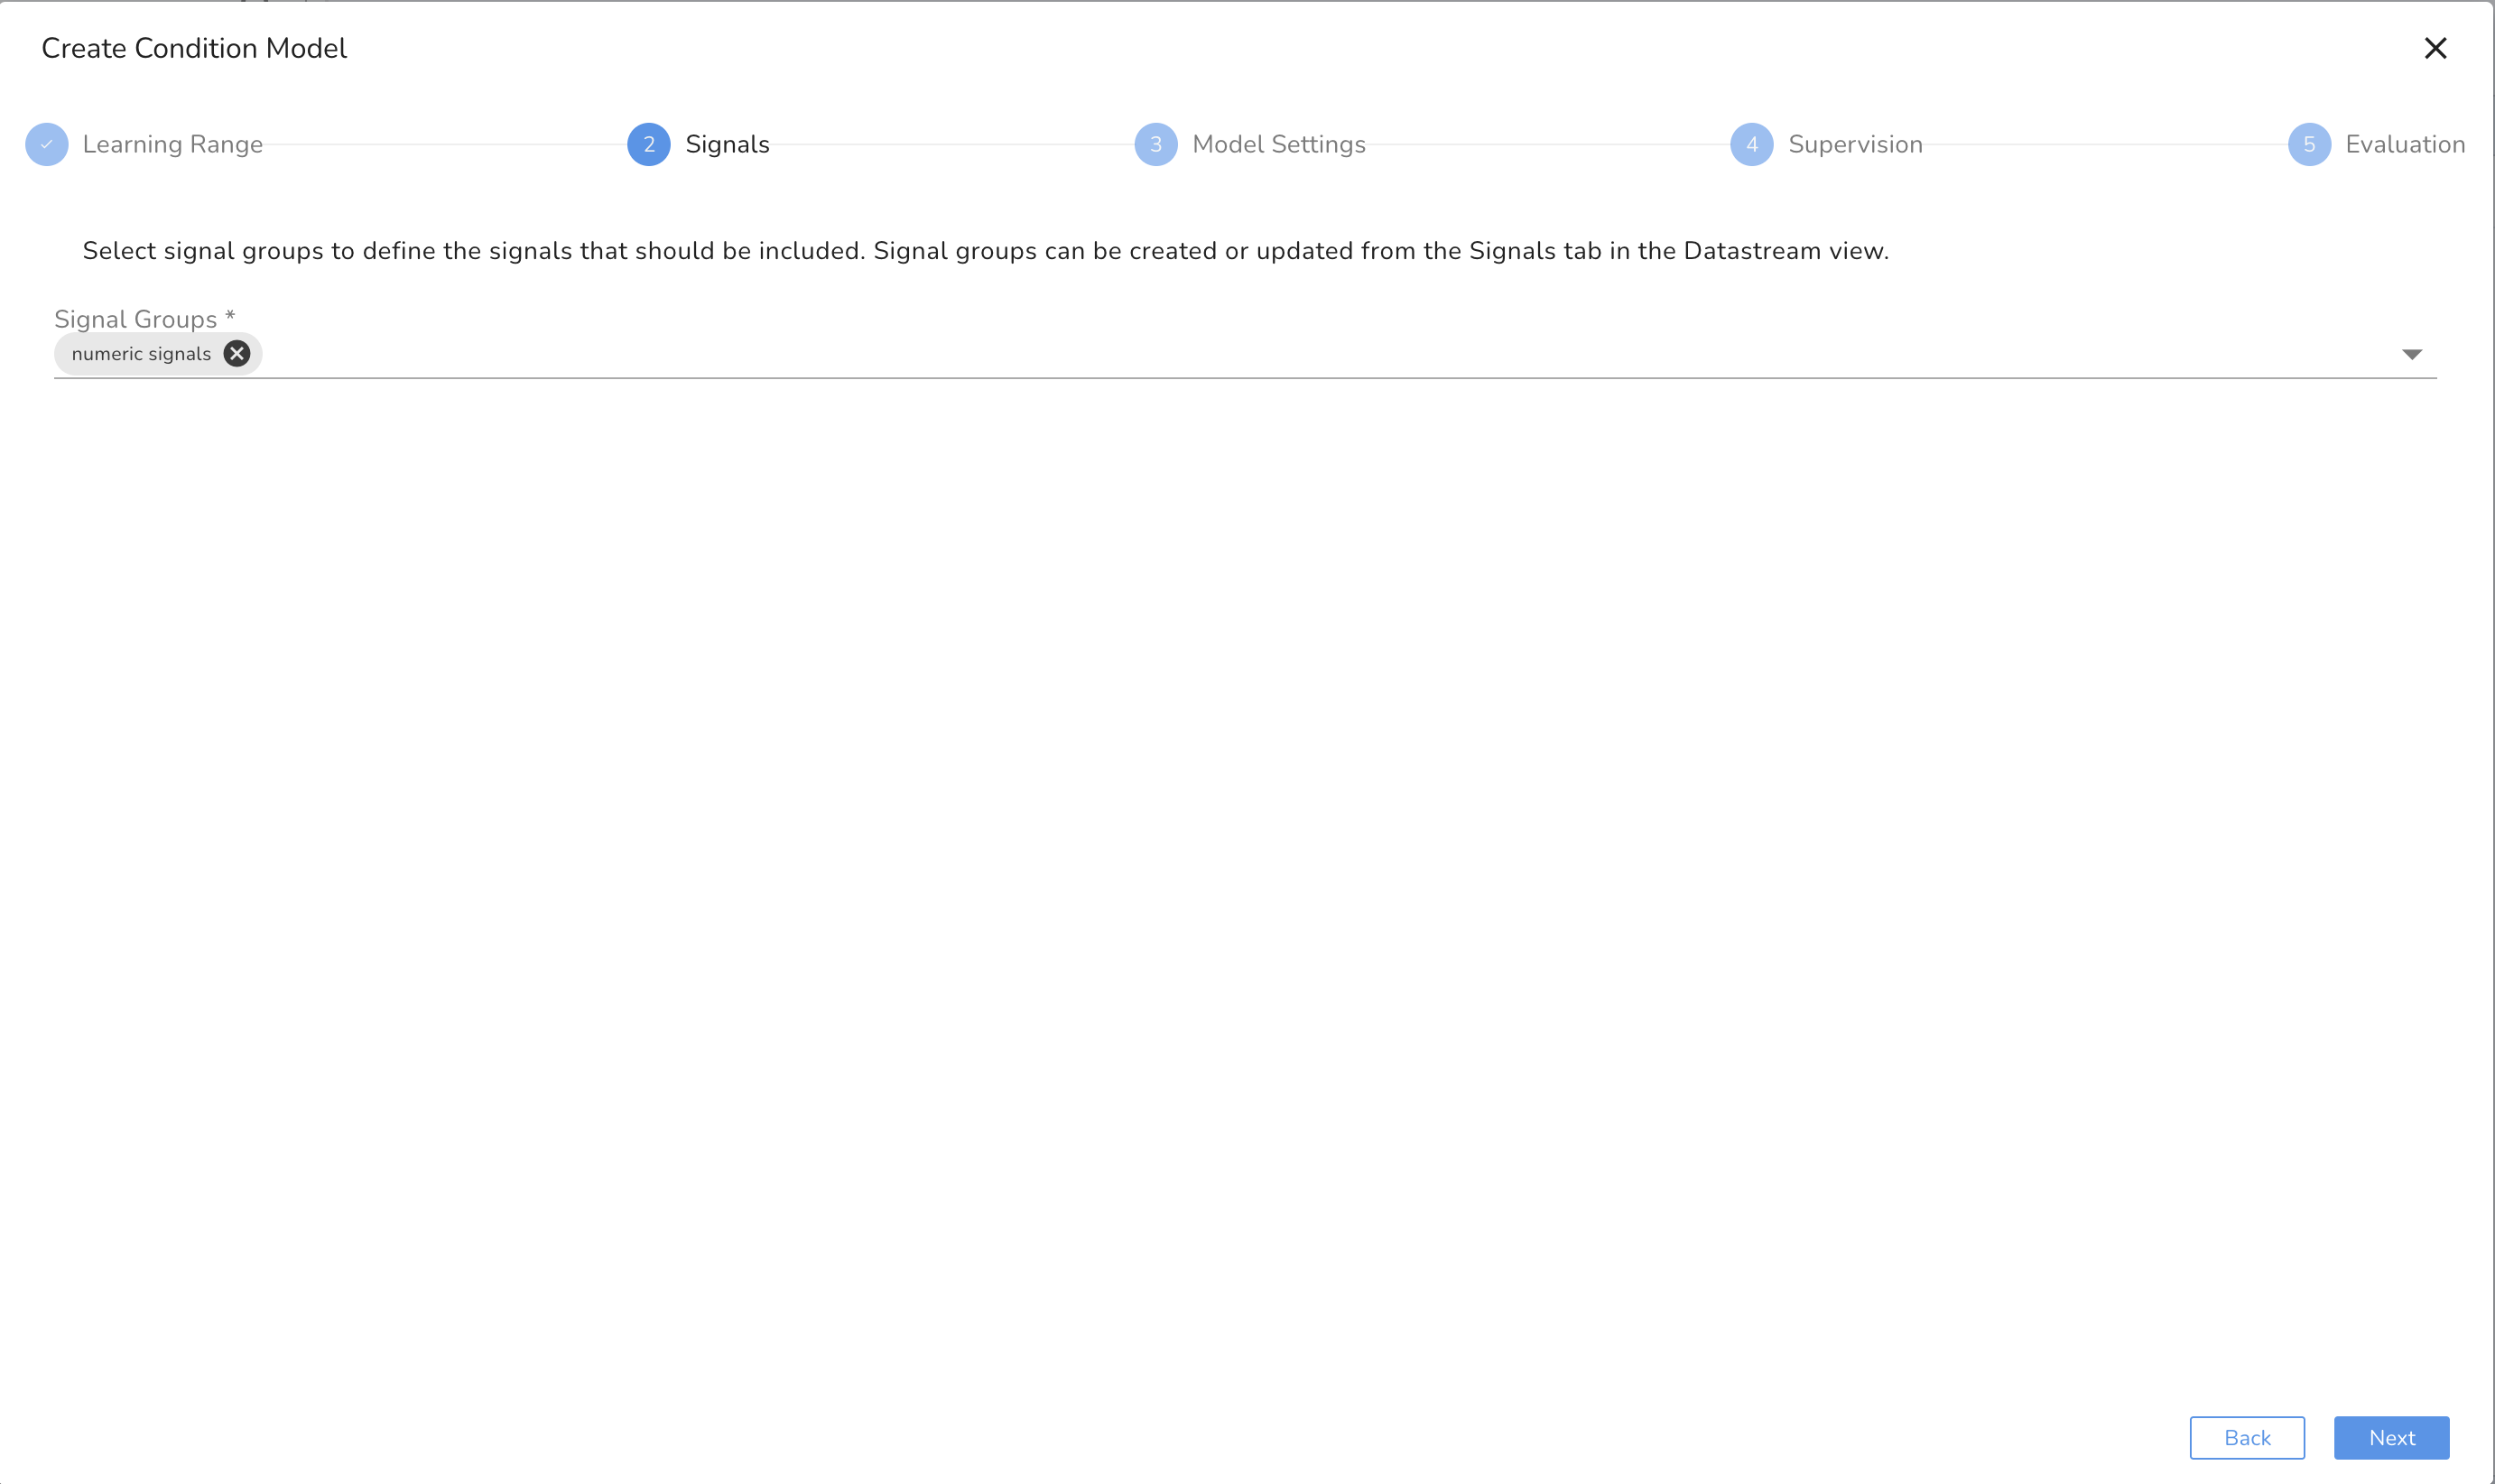
- Select Signals
Avoid:
- Flat or strictly increasing/decreasing signals (e.g., counters).
- Highly correlated signals (keep one).
- Signals with many gaps or inconsistent sampling rates.
In the example, we include the currents, pressures, temperatures, and torques associated with machine1. We named a signal group called, "model_signal" and use that as the input for the model.
-
Configure Model Parameters
-
Time Windows: Lower bound should capture short events (≥10 samples); upper bound covers long events (6–10× lower bound). In this case, we will select a range of 10 minutes to 1 hour as this fits in with our understanding of the length of different operational behaviors.
- Pattern Generalization: 0.3–0.5 for anomaly sensitivity.
- Assessment Rate: Use system default or define your own for window sliding speed.

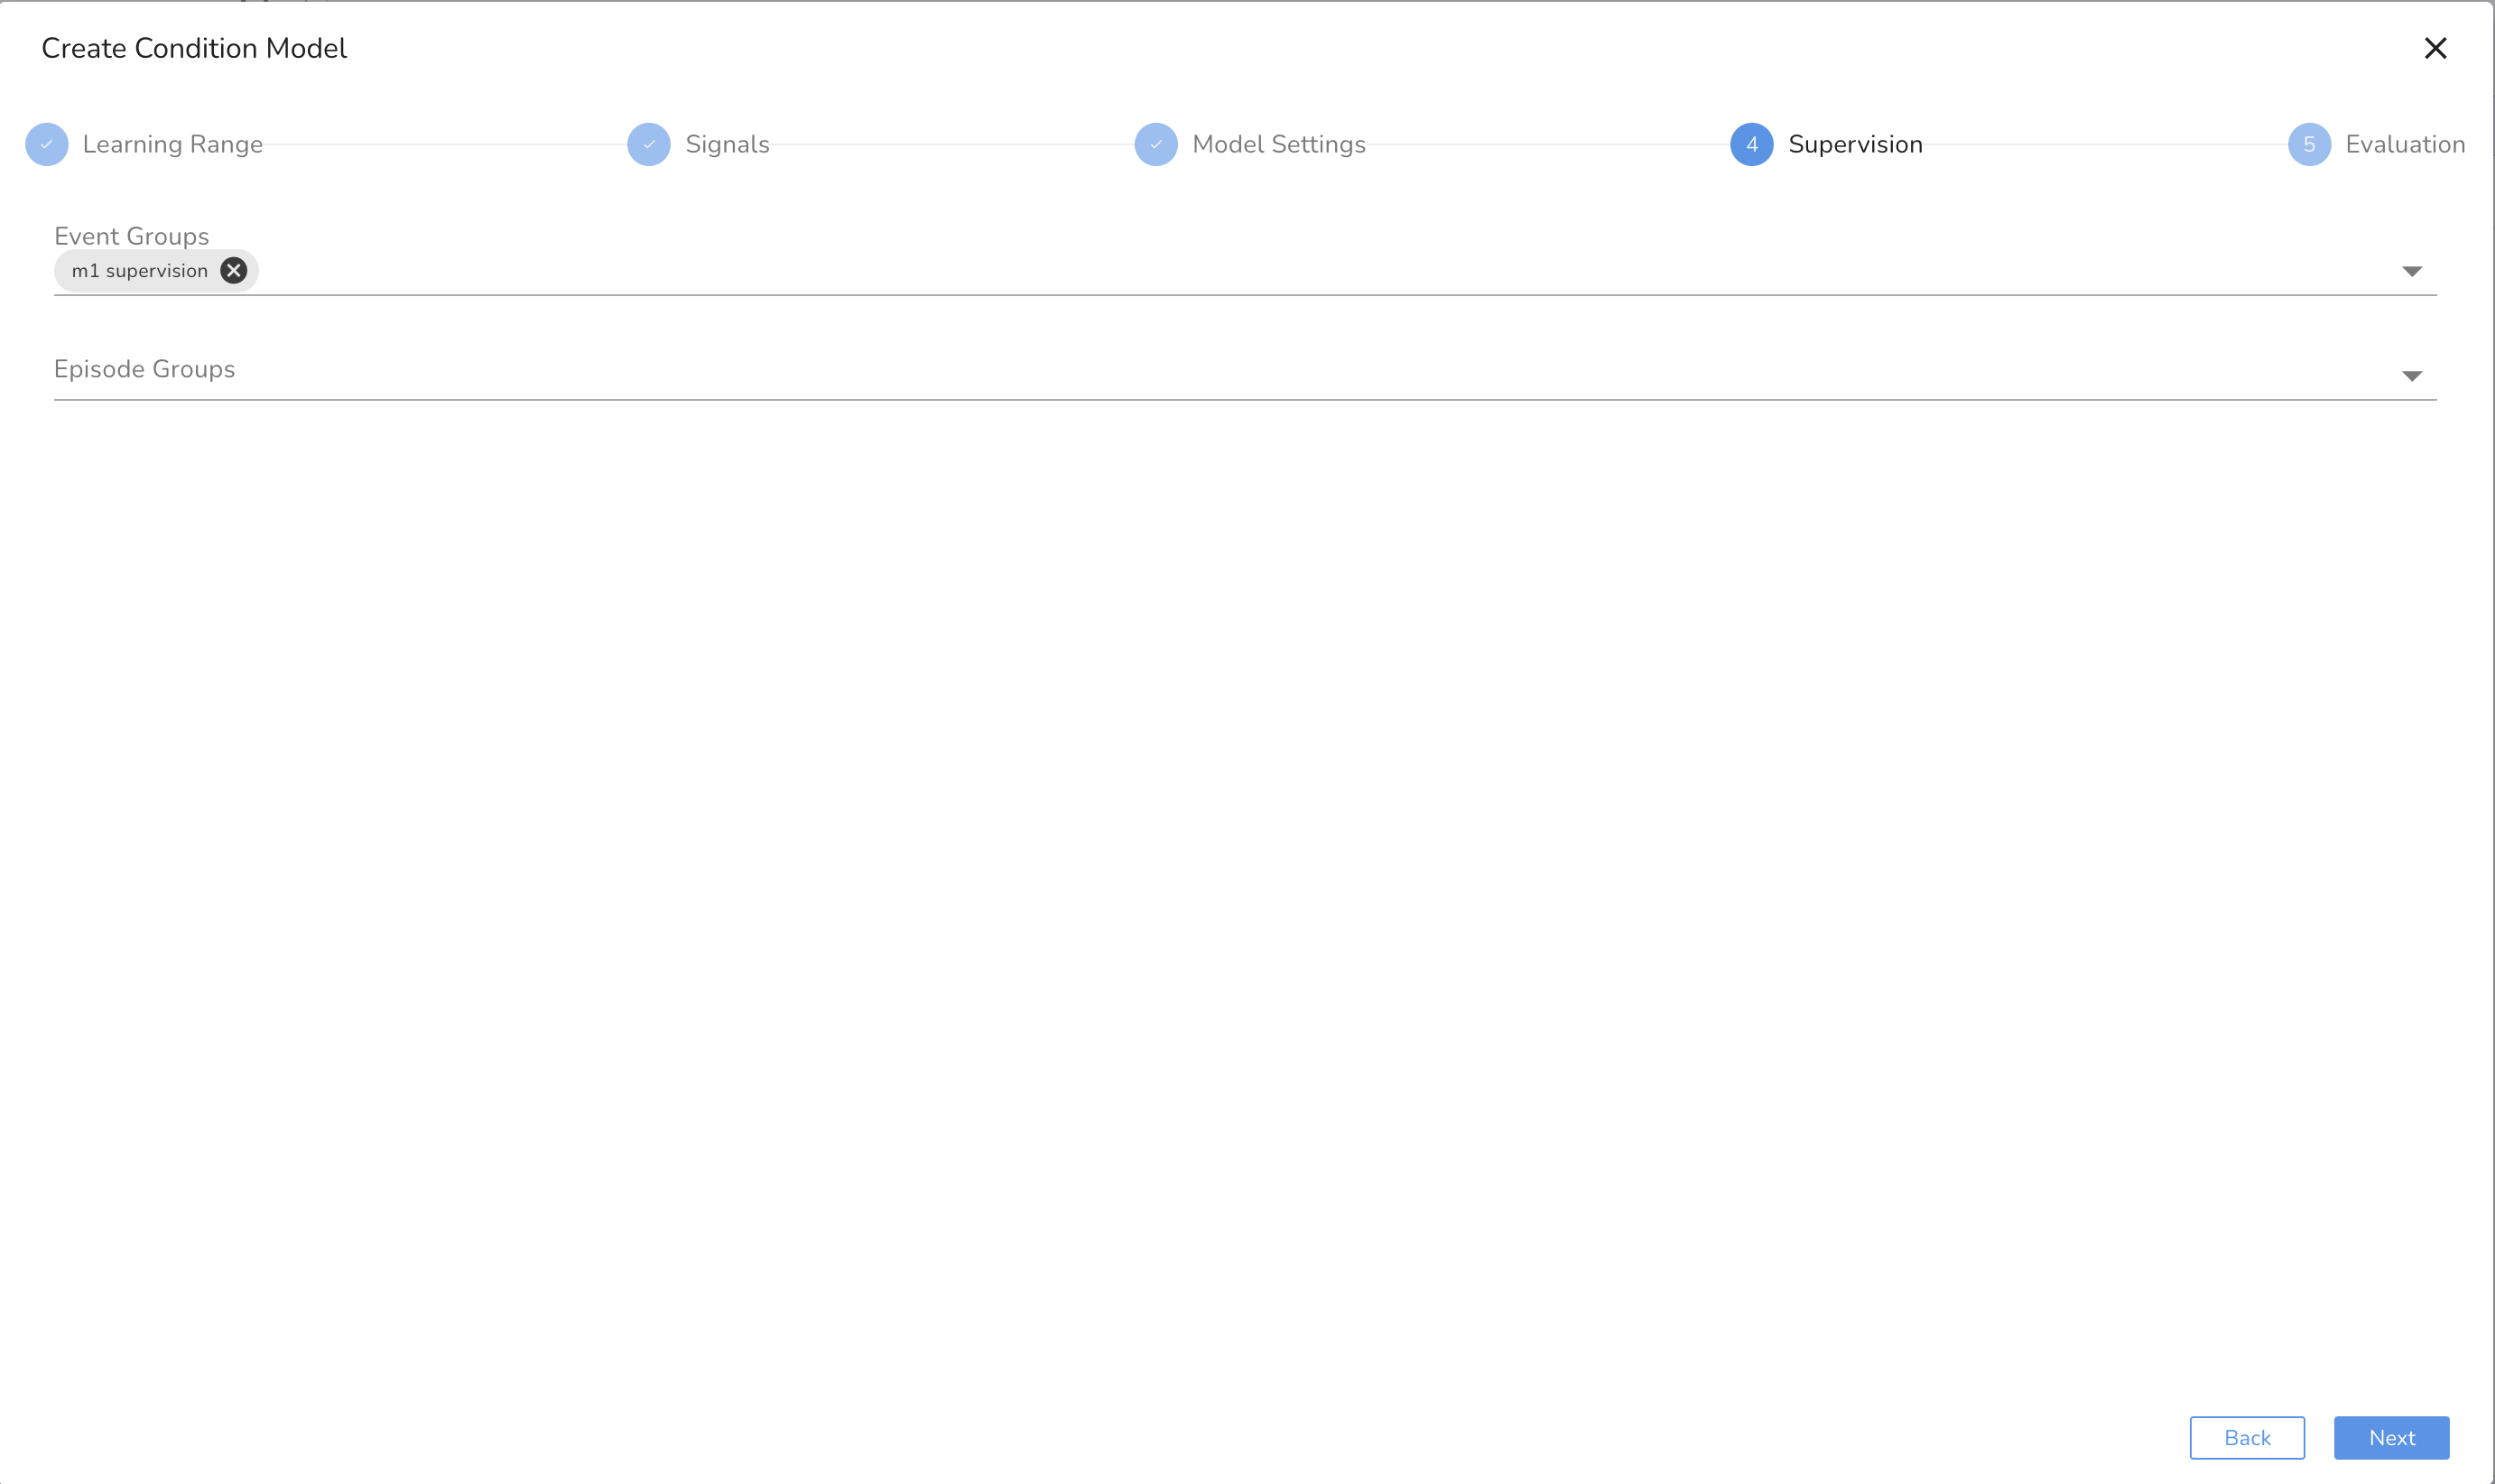
- Add Facts (if Semi/Supervised): Attach labeled event groups for classification. Ensure at least 10% of labeled events are not included in supervision labels for unbiased evaluation. Our event group is called "supervision" in the example events upload.
-
Refine Iteratively and Tweak:
- Signal selections
- Learning windows
- Event group inputs
- Generalization values
Use smaller training segments to reduce runtime and increase agility.
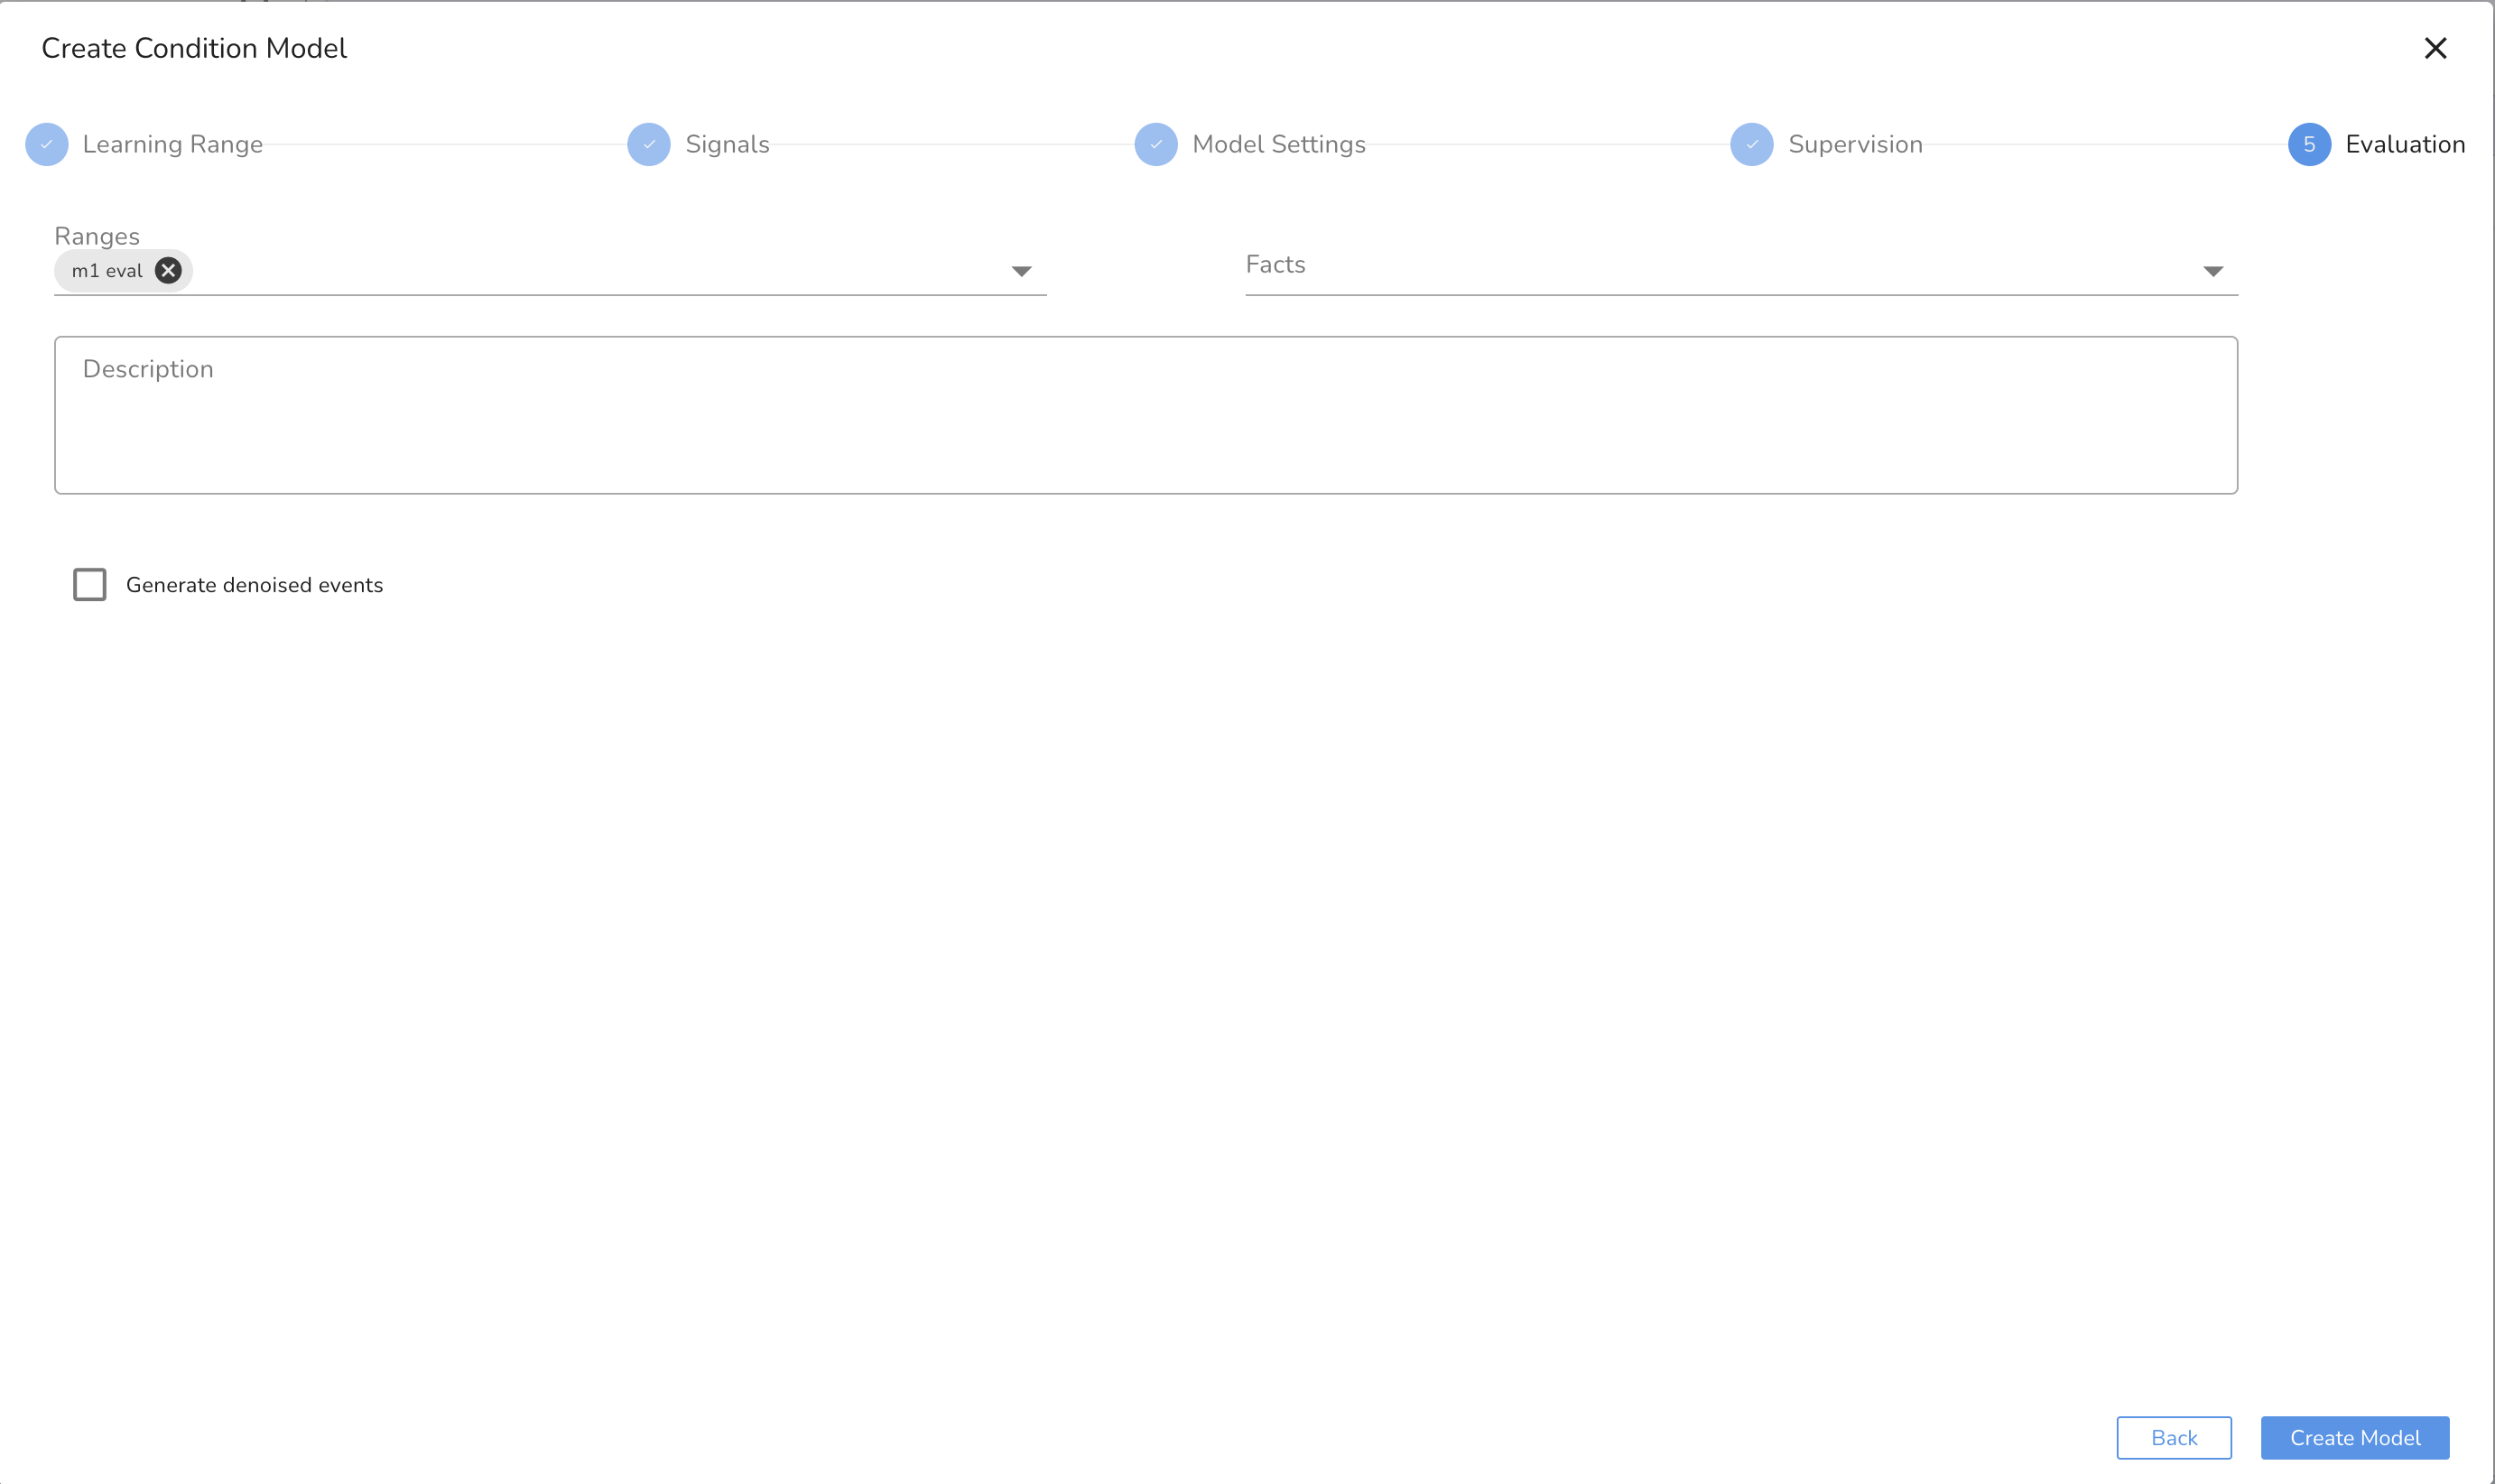
Step 4: Evaluate the Model
Falkonry automatically runs evaluations after training. You can also trigger evaluations manually.
Best Practices
- Break long evaluation periods (>6 months) into 1–2 month segments.
- Add descriptive labels to evaluations for clarity.
Interpret Results
- Unsupervised Models: Expect 5–8 distinct conditions. Dominant ones likely represent normal behavior.
- Supervised Models: Use Agreement Score to assess alignment with facts.
- Reduce false positives by refining fact sets and condition distributions.
- "Unknown" patterns indicate unseen behaviors—either retrain with added data or increase generalization.
Step 5: Take the Model Live
Once the model performs well:
-
Deploy the Model
- Soft deploy (output only) or full deploy (output + notifications).
- Use the hamburger menu next to the model on the models tab

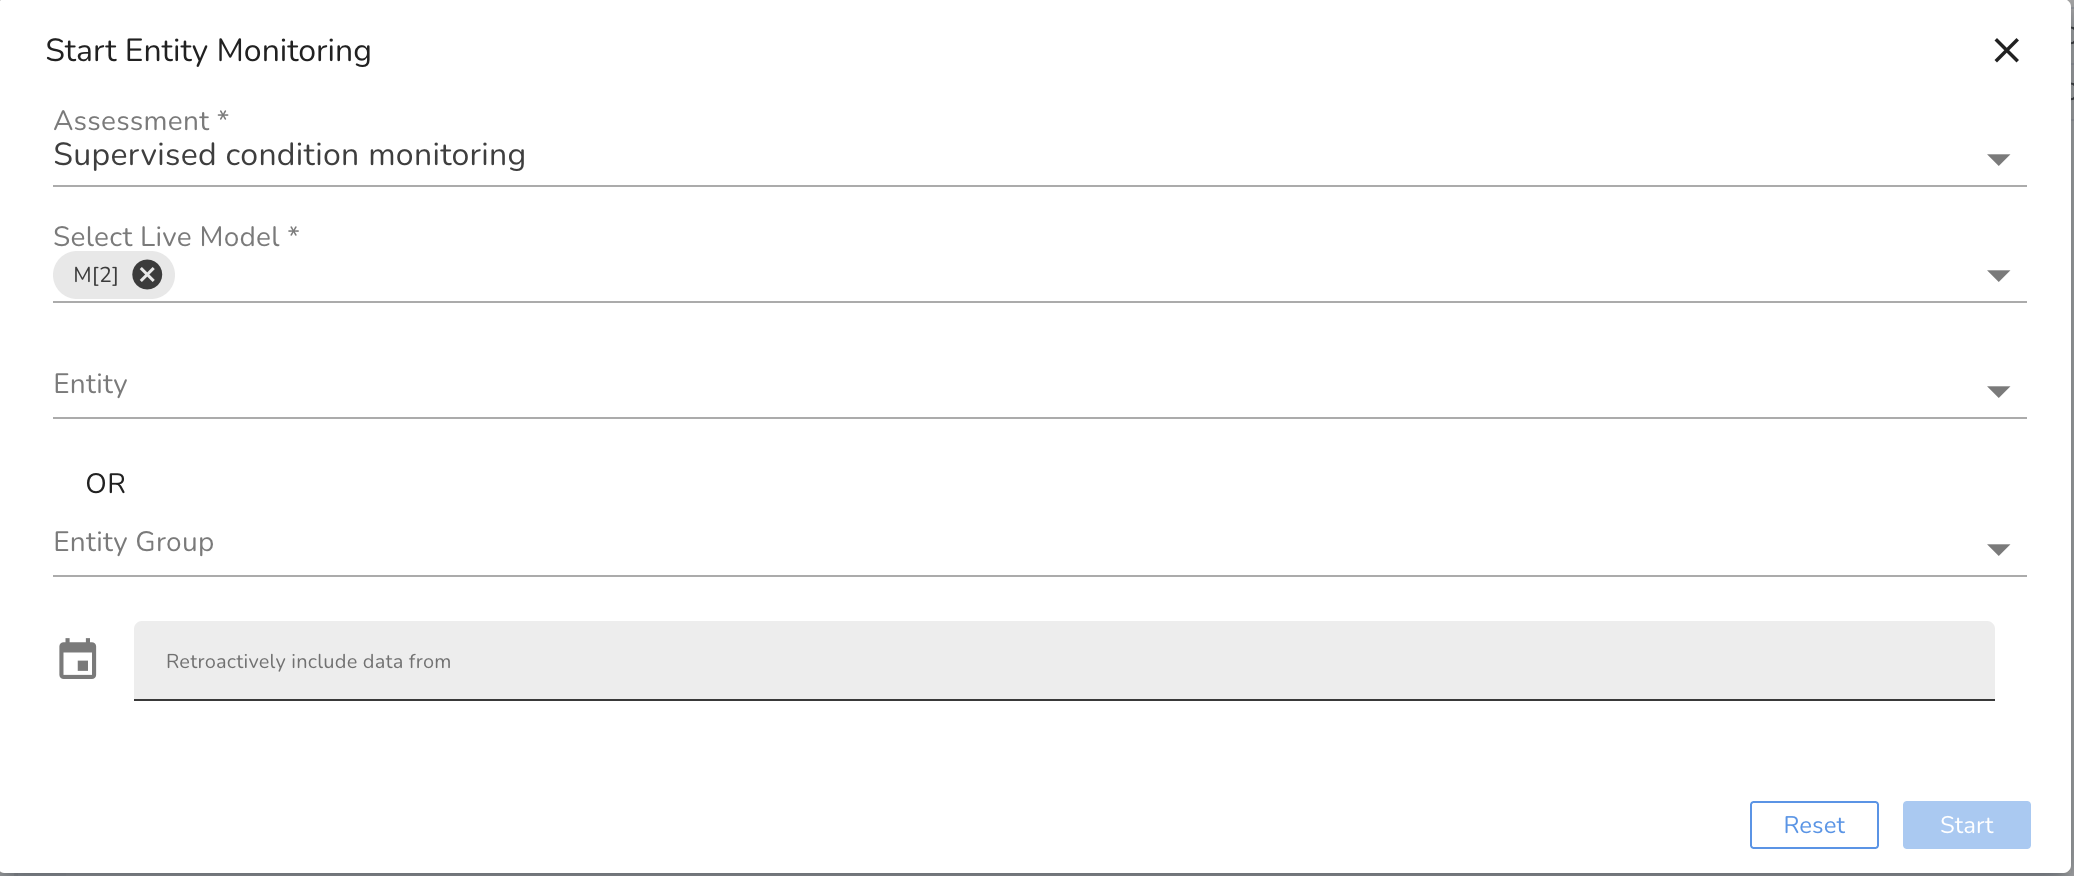
- Use "Start Monitoring Entity" to begin live output.
- Monitor multiple entities using an entity group.
-
Access Output
- Use REST APIs to pull live model results, confidence scores, and explanations. (Raw Data API)
- Always use model ID M for consistent access across versions.
- Follow polling and data size best practices (e.g., ≤1,000 points per request).