Configuring a Rule
Key Configuration Parameters
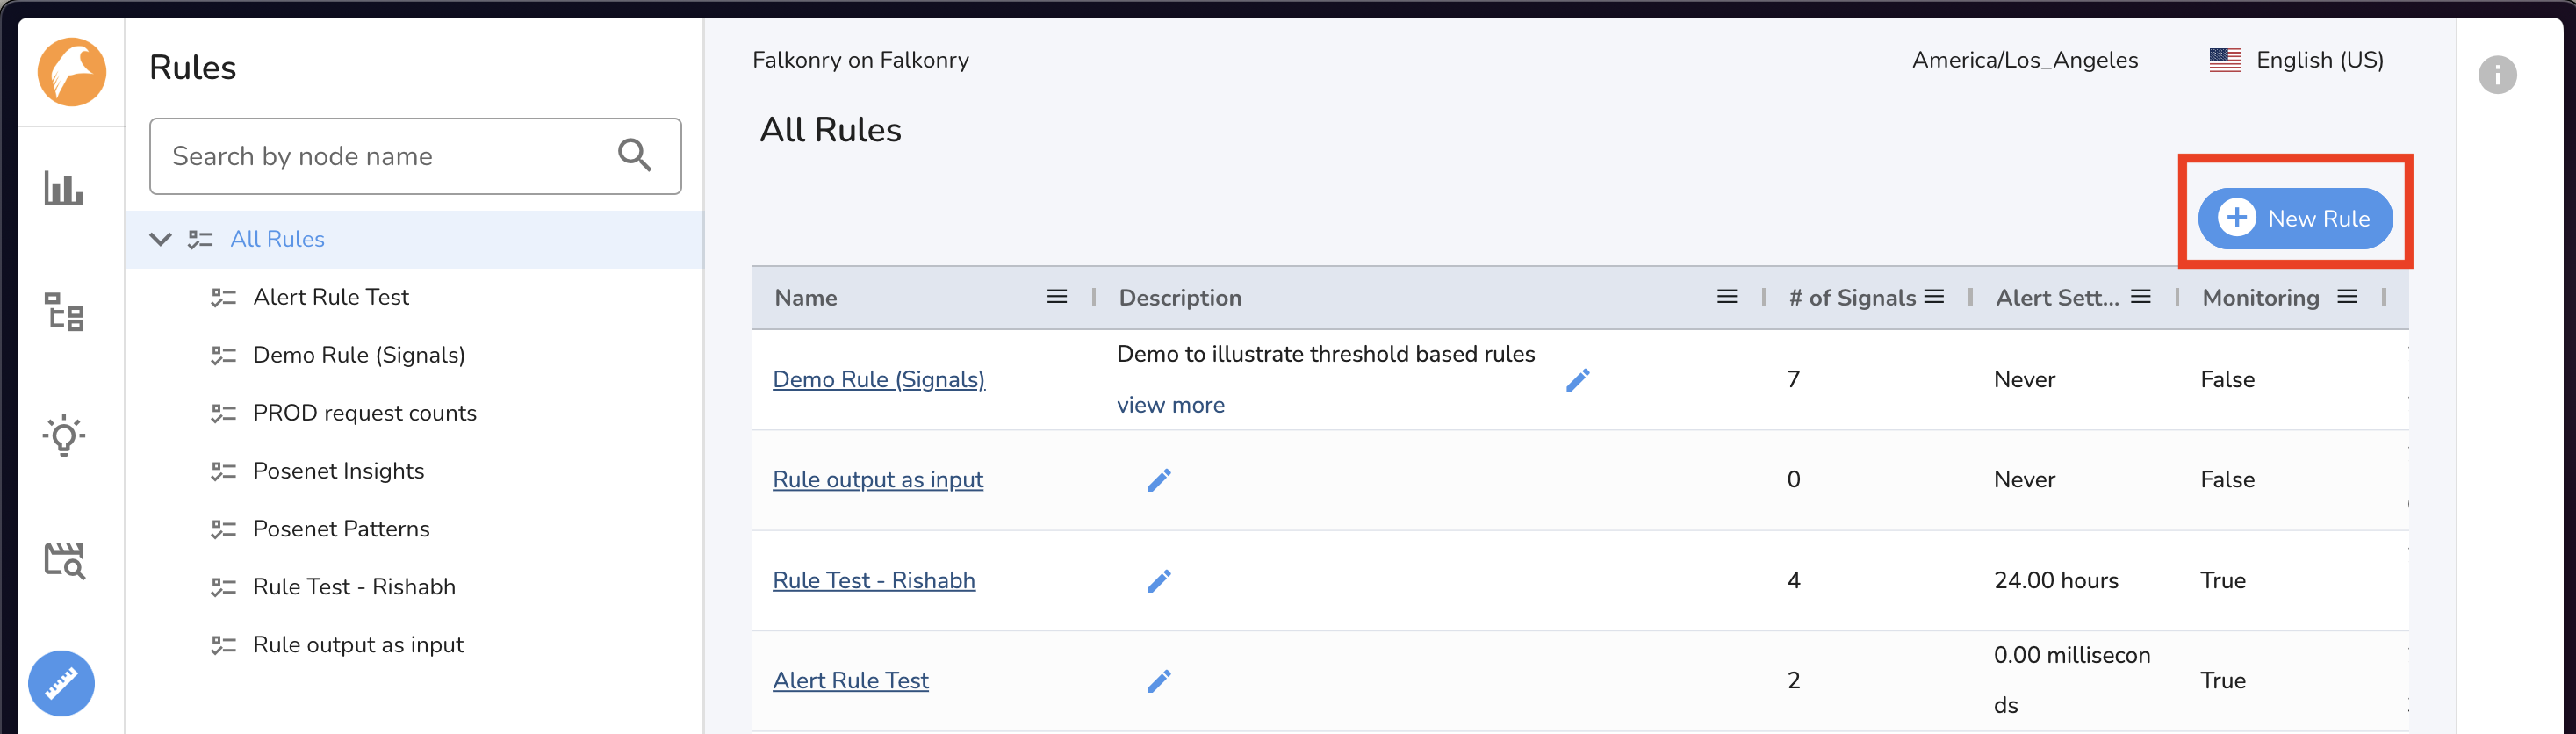
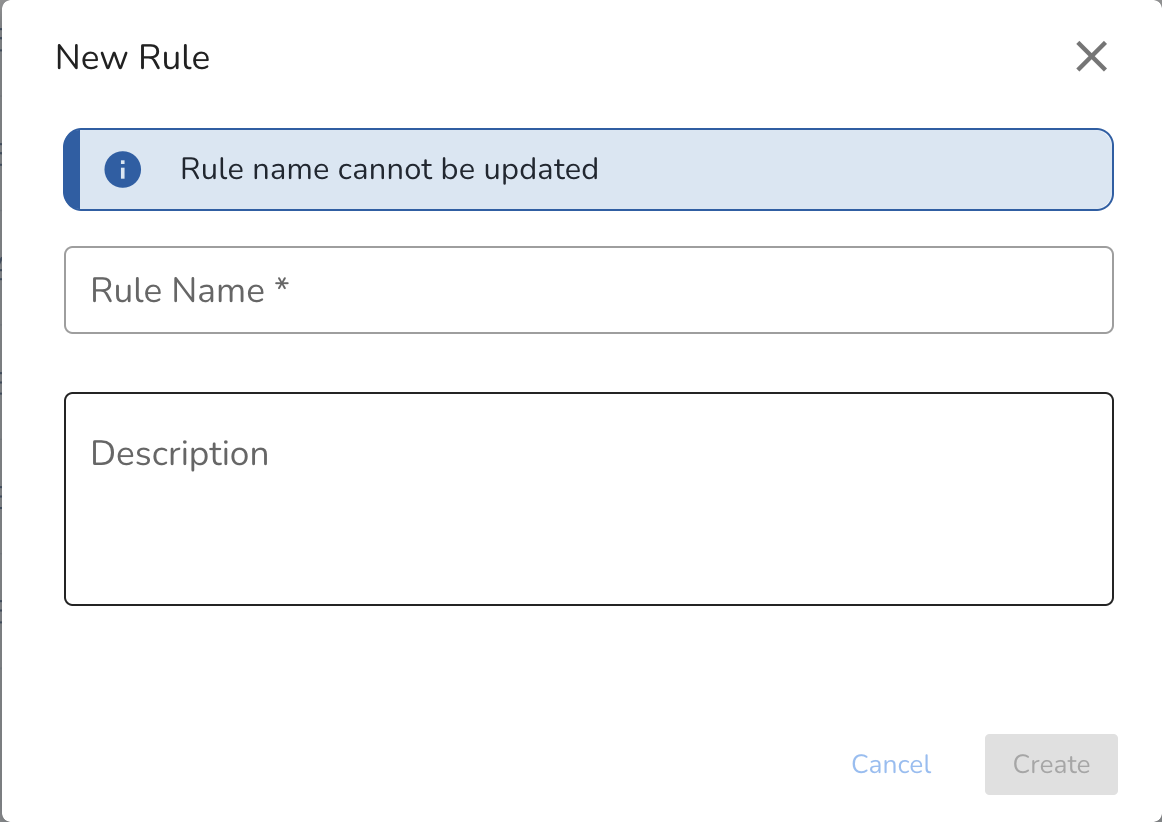
Creating a rule in Falkonry TSI requires defining the following parameters:
- Input Signals: One or more signals that the rule evaluates. These can be either numerical or categorical signals
- Reference Signals: Signals that can be included in Rules but are typically not used as primary triggers. Instead, they provide context or help refine alert logic.
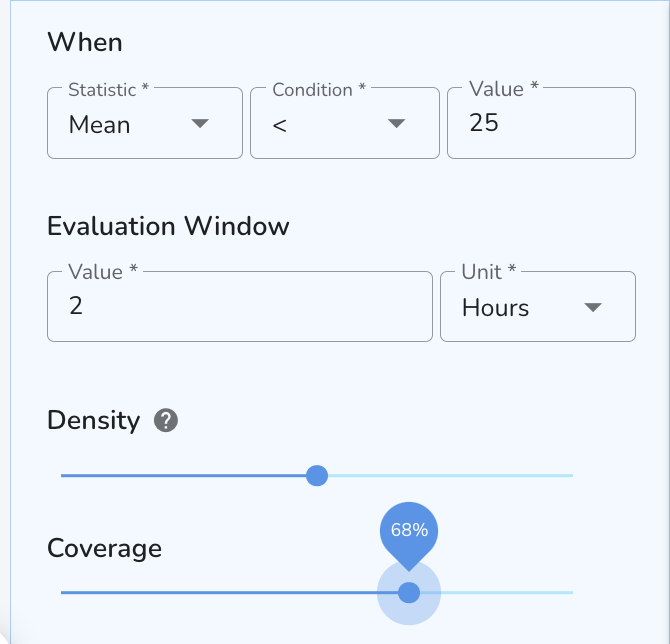
- Rule Statistic: Aggregation method (Mean, Min, Max) over a time window
- Condition Type: Logical operator (>, <, =, etc.) to evaluate signal behavior
- Value: Threshold or label for the rule condition
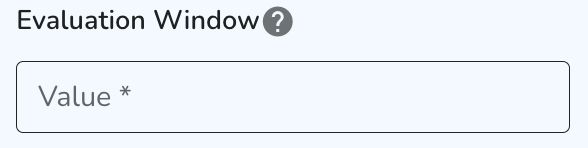
- Evaluation Window: Sliding time window (e.g., 5 min) to assess behavior persistence
- Density: % of time the condition must be met within the window
- Coverage: For multi-signal rules, % of signals that must satisfy the rule
- Alert Frequency: Controls how often alerts are issued; supports auto-snooze

Configuration
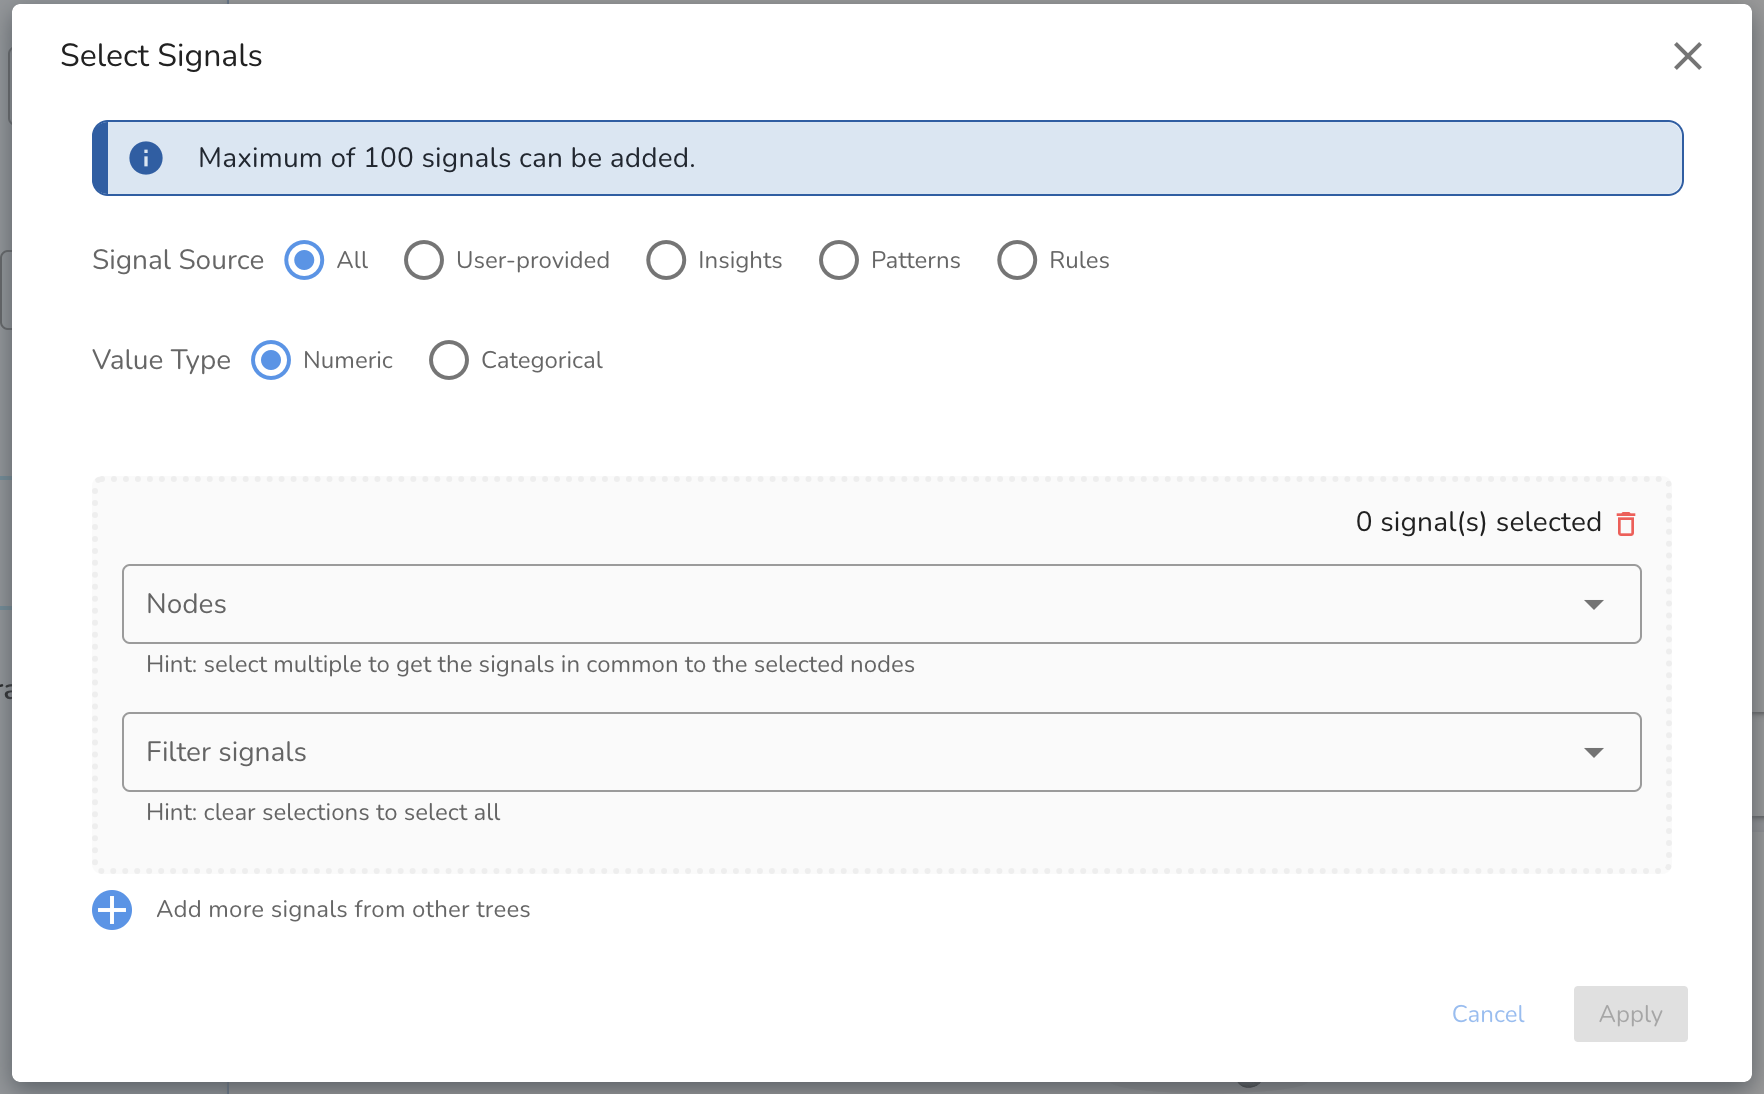
Select signals
Select signals based on their signal source when creating a rule. This selection automatically filters the available signals to those from the chosen source.
- All - these are all the available signals in the Falkonry TSI
- User Provided - these signals can be numeric or categorical
- Insights - these are the output signals from Falkonry Insights. Note: when this is selected, the search will display the name of signals being monitored by Falkonry Insights. The system will automatically identify the associated Falkonry Insights output signal. Insights signals are numeric.
- Patterns - these are the output signals from Falkonry Patterns models. This includes Explanation Scores, Predictions, and Confidences. Explanation Scores and Confidences are numeric. Prediction signals are categorical.
- Rules - these are the output signals from Falkonry Rules. This includes both rule outputs and alert outputs. Use the rule name to search for rule outputs. Rules output signals are categorical.
Reference Signals
Optionally, you may add signals to the reference signals section by clicking the signal selector icon to assist in the rule creation process. Up to 50 signals of any type may be added to the reference section.
Define a Threshold
Select criteria for the rule.
For numeric signals
- Select a statistic for the rule condition. Depending on the duration of the evaluation window, the rule is calculated with aggregations of signal data rather than raw values.
- Select a condition type
- Enter a numeric value for the condition
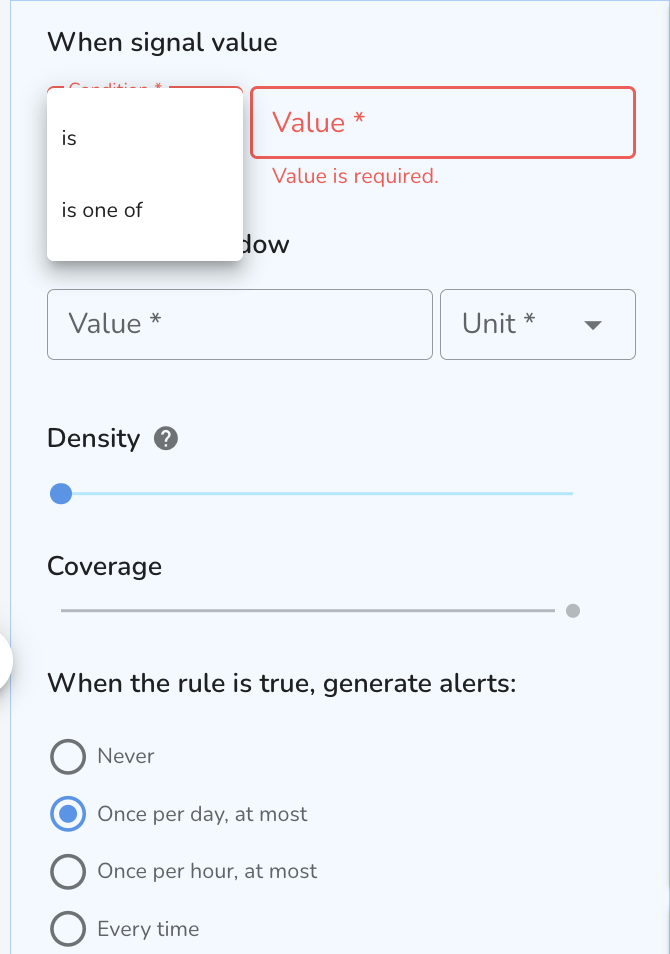
For categorical signals
-
Select a condition
a. Choose "is" if only one label is relevant.
b. Choose "is one of" if the rule should be triggered by more than one condition.
-
In the Value field, enter comma-separated labels. e.g.
warning,onset,unknownThis field is case sensitive. Do NOT include a space between labels.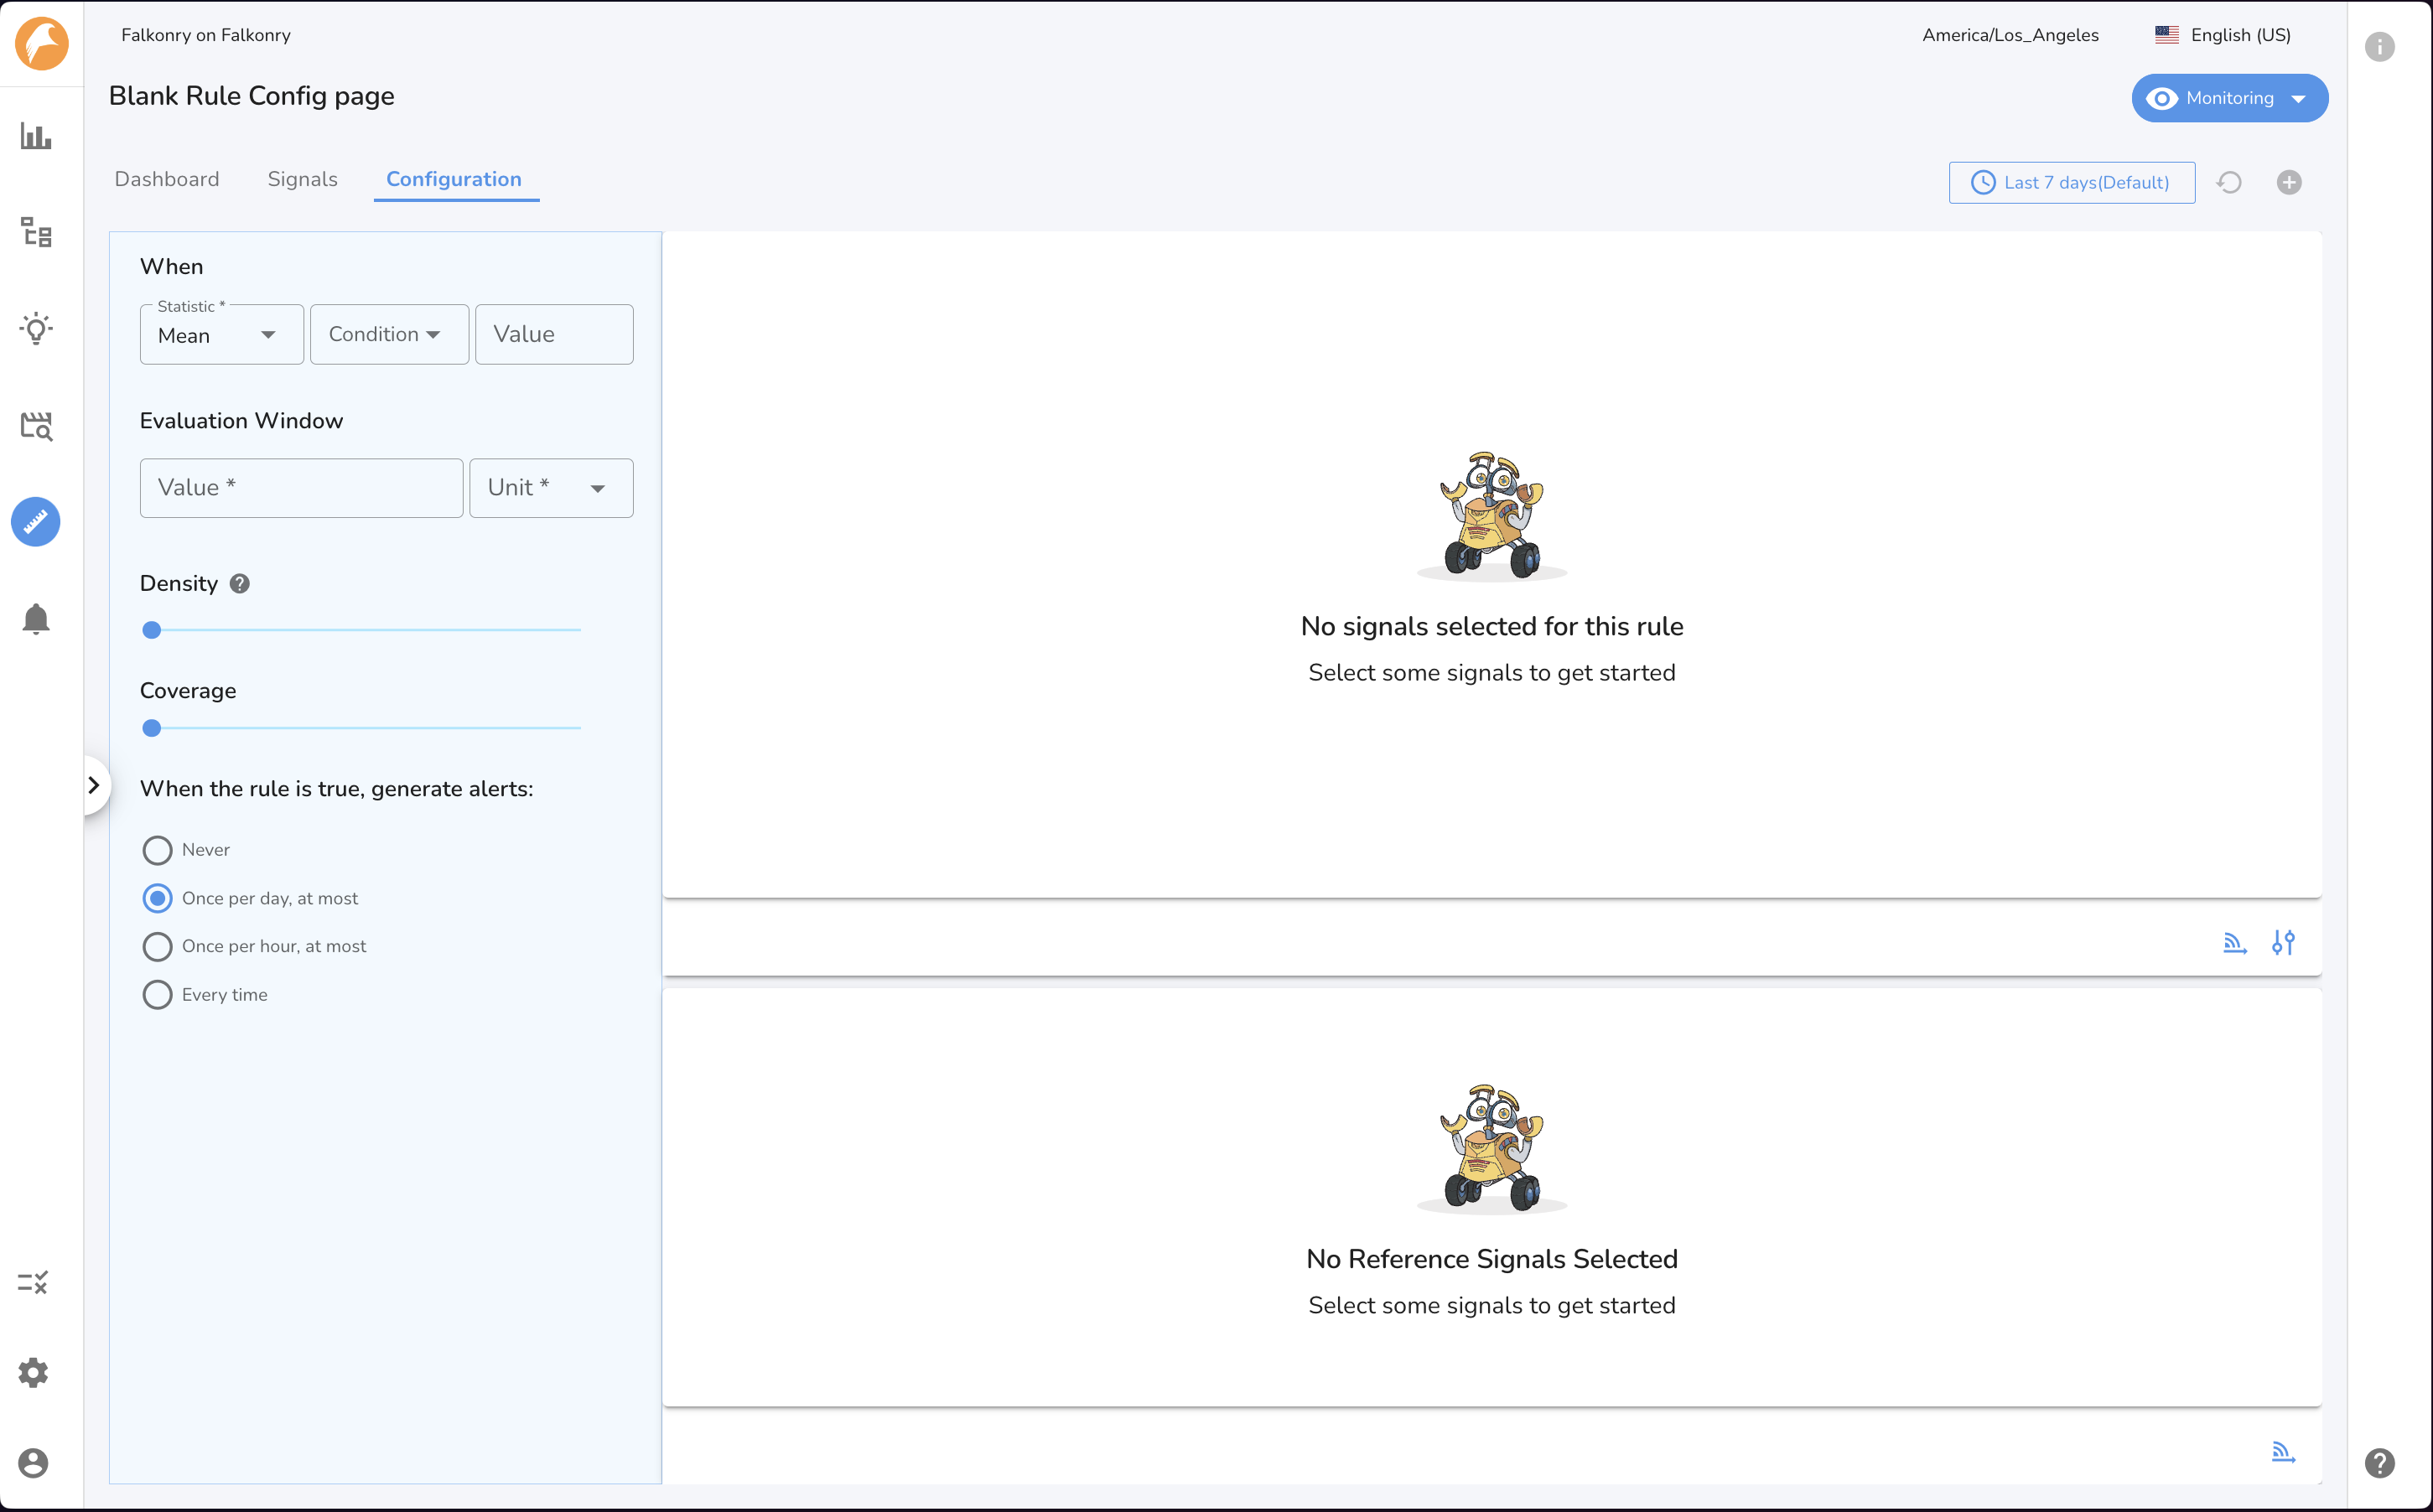
Select an Evaluation Window
Select an evaluation window length by entering a value. e.g. PT1H or 1 hour.
Select Density
Select a density setting for your rule.
Select Coverage
If your rule has more than one input signal, select a coverage setting for your rule. The coverage setting will determine the percentage of the rule input signals for which the condition and density must be satisfied to trigger the rule. To learn more about the coverage setting, visit the glossary section of this article.
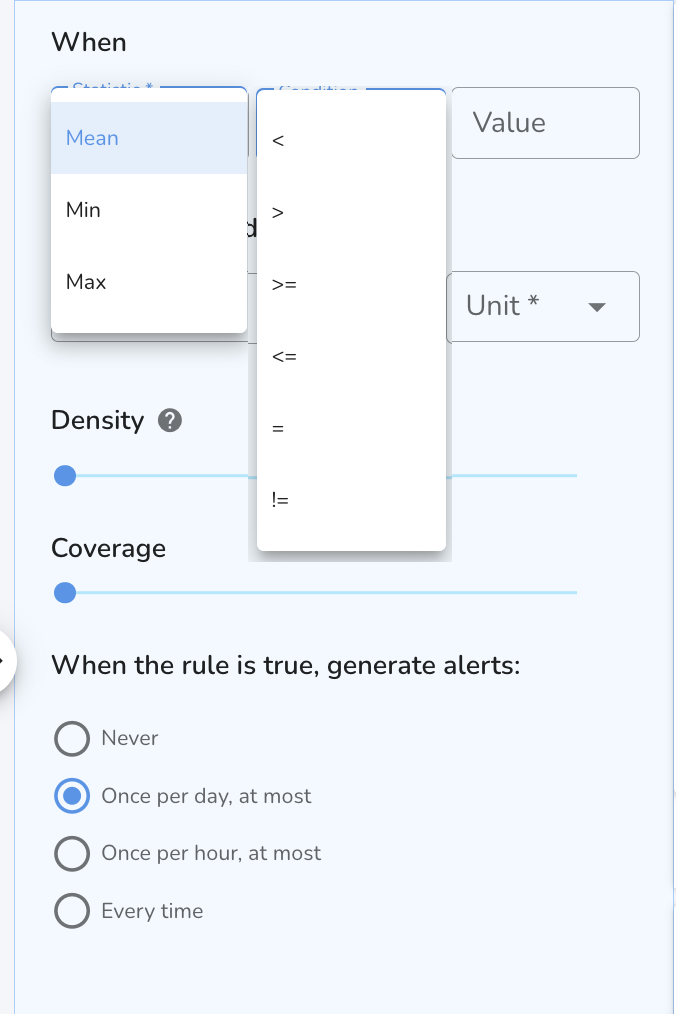
Alert Frequency
Select an alerting cadence for this rule. An alert is a secondary output to a rule which is created based on your selected cadence, rather than every time the rule assessment is True. This can be useful for notifying relevant team members with reduced noise. To learn more about alerts, visit the glossary section of this article [insert link to glossary]
- Never - this rule will never create an alert.
- At most once per day - If it has been at least 24 hours since the most recent alert, the next time the rule assessment is True, an alert will be created.
- At most once per hour - If it has been at least one hour since the most alert, the next time the rule assessment is True, an alert will be created.
- Every time - An alert will be created every time the rule assessment is True.
Review the Rule Criteria
Review the rule logic using the “Summary” text, which describes the criteria in easy-to-understand language.
Start Monitoring
Once the criteria are set, the rule is ready to continuously monitor live incoming data and trigger alerts when conditions are met.
Edit Rule
Stop Monitoring
Pause the Rule to temporarily stop monitoring live data. No alerts will be generated while monitoring is stopped.
Modify the Rule or Alert Criteria
Update the Rule’s input signals (Add/Remove), thresholds, evaluation window, density, coverage or alert frequency as needed.
Resume Monitoring
Restart monitoring with the updated Rule. Alerts will trigger based on the new configuration.